About this generator
Most box-shadow generators give you one shadow — set x, y, blur, color, copy. The output looks flat because real objects in the real world cast multiple shadows at different distances. Every great design system in the last decade (Material Design’s elevation, Apple’s HIG, Stripe, Linear, GitHub, Vercel) ships 2-4 stacked shadows per surface. This generator was rebuilt around that recipe.
Three things make this different from every other free shadow generator. Multi-layer shadow stack — stack up to 20 shadows in one declaration, each with full x/y/blur/spread/color/opacity/inset control; reorder layers; toggle visibility per layer for quick A/B comparison. Production-grade preset library — Material 1dp through 24dp, Apple soft + sharp, Stripe / Linear floating-card, Tobias Ahlin smooth-shadow, long-shadow (8 or 30 layers), neumorphic dual, neon glow. Hover transition variant — toggle one switch and the export ships a :hover state + transition declaration so you get the Stripe-card lift effect ready to paste.
Five framework exports — CSS, SCSS variables, Tailwind arbitrary-value, React inline-style, Vue scoped CSS. The Tailwind export uses square-bracket syntax so a 30-layer long-shadow ships as a single utility class with no Tailwind config changes. The SCSS export extracts every layer to a $shadow-stack-N variable for design-token reuse.
Permalink: every adjustment encodes into the URL hash, so you can bookmark a tuned shadow stack or send it to a teammate. No login, no watermark, no paywall. Free and MIT-licensed.
How to use
CSS box-shadow syntax
| Property | Description |
|---|---|
offset-x | Horizontal distance — positive moves right, negative moves left. |
offset-y | Vertical distance — positive moves down, negative moves up. |
blur-radius | Higher = softer edge. 0 = sharp, hard shadow. |
spread-radius | Grows (+) or shrinks (−) the shadow size before blur. |
color | Any CSS color — use rgba() for transparent shadows. |
inset | Optional keyword. Turns the shadow inward (inner shadow). |
box-shadow snippets
box-shadow: 0 4px 12px rgba(0,0,0,0.15);
box-shadow: inset 0 2px 8px rgba(0,0,0,0.25);
box-shadow:
  0 1px 2px rgba(0,0,0,0.18),
  0 4px 8px rgba(0,0,0,0.12),
  0 16px 32px rgba(0,0,0,0.10);
/* For SVG / transparent PNG cutouts use filter,
   not box-shadow — it follows the alpha channel: */
filter: drop-shadow(0 4px 8px rgba(0,0,0,0.25));
Browser support
box-shadow is supported in every modern browser and has been since IE 9 — safe to use anywhere without a fallback.
Pro tips
Frequently asked questions
Why stack multiple box shadows? Isn't one shadow enough?
One shadow gives you a flat, lifeless surface. Real-world objects cast multiple shadows at different distances — a sharp shadow right under the object (contact shadow), a softer mid-range shadow, and a long diffuse shadow further out. Stacking 2-4 box-shadow layers approximates this and is the single biggest visual upgrade you can apply to any UI. Material Design's elevation system uses 2-3 stacked shadows per level. Stripe, Linear, GitHub, and Vercel all ship 3+ stacked shadows on their cards. The Tobias Ahlin 'smooth-shadow' technique uses 6 stacked shadows for perfect natural-looking depth. Most free generators max out at one shadow; this one lets you stack up to 20 with full control over every layer.
What's the difference between blur, spread, and offset?
Offset (x, y) is where the shadow lives relative to the element — positive y pushes the shadow downward (the natural 'object floating' look), positive x pushes it to the right. Blur is how soft the shadow's edge is — higher blur = softer = farther-away feeling. Spread expands or contracts the shadow's size BEFORE the blur is applied — positive spread makes the shadow bigger than the element (the 'glow' look), negative spread shrinks it (the 'floating with sharp edges' look from Material's 16dp+ elevation). Most generators only show offset and blur; this one exposes spread so you can build authentic Material elevations and the negative-spread Stripe-style float effect.
What does the 'inset' toggle do? When should I use inset shadows?
Inset reverses the shadow — instead of casting outward from the element's edge, it casts INWARD from the inside of the element's border, producing a recessed / pressed-in look. Use cases: (1) Neumorphism — pair an inset light-source shadow with an inset dark-source shadow to make an element look pressed into the surface; (2) Input field focus states — a subtle inset shadow on focus signals the field is now active; (3) Disabled buttons — inset shadows make a button look 'sunken' so users know it's not clickable; (4) Card hover-out animations — transition from an outer shadow to an inset shadow to make a card 'press down' when clicked. The inset toggle is per-layer, so you can mix inset and regular shadows in the same stack.
Does the hover transition variant actually work, or is it just for show?
It ships production-ready code. Toggle 'Hover transition' and the export grows: (1) a base .box-shadow declaration on the element, (2) a :hover { box-shadow: ... } declaration with shadow values you tune separately, and (3) a transition: box-shadow 200ms ease declaration so the change animates smoothly. Paste the exported CSS into your stylesheet, attach the class to any element, and you get the Stripe-card hover-lift effect without writing a line of transition code yourself. The exact duration is editable; defaults to 200ms (the convergent web-UI standard).
How does the Tailwind shadow export work? Tailwind has shadow-sm, shadow-md, etc — why arbitrary values?
Tailwind's built-in shadow utilities (shadow-{sm,md,lg,xl,2xl,inner}) cover the simplest case — a 1-3 layer pre-baked shadow at one of 6 fixed sizes. The moment you need a 4-layer Material elevation, a colored glow, a long-shadow, or any specific x/y/blur/spread combo, the built-in utilities can't express it. The Tailwind export emits the full arbitrary-value syntax — shadow-[0_1px_2px_rgba(0,0,0,0.1),0_4px_8px_rgba(0,0,0,0.05)] — which works on Tailwind v3 and v4 identically. Long shadows that stack 30 layers? Same syntax, all 30 comma-separated entries in one arbitrary value. The Tailwind documentation explicitly endorses this pattern for custom shadows.
Can I save my shadow stack and come back to it, or does refreshing wipe my work?
Every adjustment encodes into the URL hash automatically — shape, background color, every shadow layer with its x/y/blur/spread/color/opacity/inset, hover variant state. Bookmark a tuned shadow, the URL preserves the entire state. Send the URL to a colleague, they see your exact stack. Old shared URLs from the v1 generator still work — the hash decoder reads both v1 and v2 formats. No accounts, no servers, no logins.
Why does my long-shadow look choppy on Safari/Firefox but smooth on Chrome?
It doesn't — the rendering is identical across browsers. What changes is the layered shadow blending: when you stack 20-30 layers at low opacity to build a long-shadow effect, the resulting alpha compositing depends on each browser's color-rendering pipeline. Chrome's Skia, Safari's CoreAnimation, and Firefox's WebRender produce visually-identical pixel output for box-shadow per CSS Backgrounds spec. If you ARE seeing differences, check: (1) your background color is what you expect (transparent vs solid changes the visible shadow blending), (2) you don't have transform: translateZ(0) accidentally on an ancestor (creates a new compositing layer that re-blends shadows), (3) the long-shadow preset uses 30 stacked layers — try the 'Long shadow (8-layer)' alternative if your target browser is slow.
Is this free for commercial use?
Free, MIT-licensed, zero attribution required, no watermark, no signup, no upgrade tier hiding features. Use the generator on a paid project, a client deliverable, a startup landing page, an enterprise design system — none of those need permission. The generator itself is hosted free at codefronts.com; the output CSS is yours.
See it used in real designs
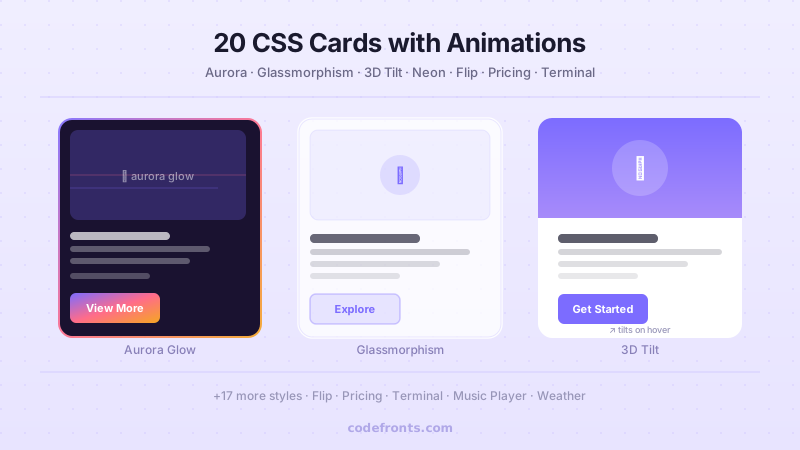
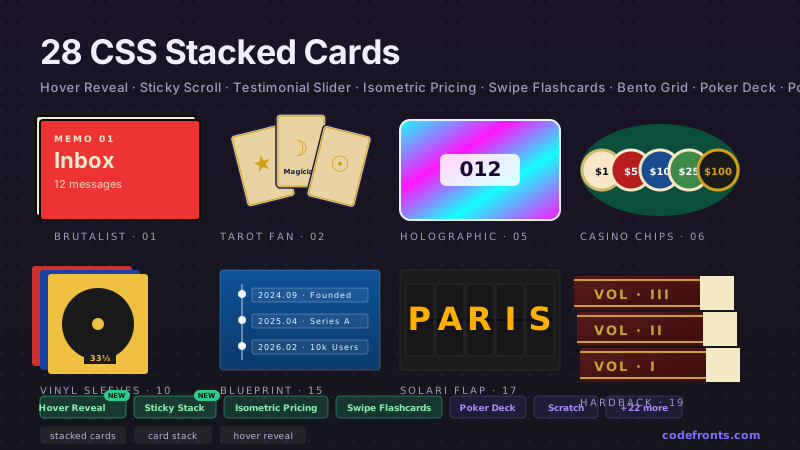
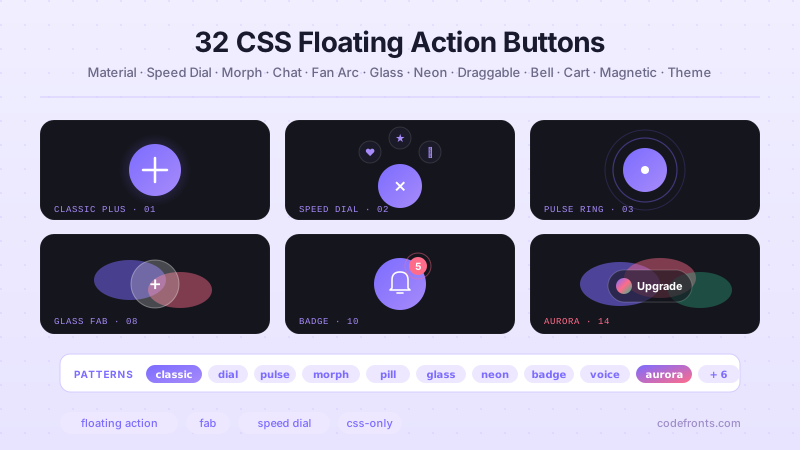
Browse hand-coded collections that put this tool to work.
Related tools
Premium design system · Untitled UI
AffiliateTuning one value? Get the whole system.
- 900+ colour, type & effect styles (Pro)
- 10,000+ components & variants (Pro)
Affiliate link: we may earn a commission at no extra cost to you.
Untitled UI Pro: 900+ colour, type and effect styles for Figma · from $129 one-timeGet Untitled UI Pro →Affiliate link